
I just wanted to see if I could do it. A bit of a learning exercise.
I headed down to my friends house which includes a full service shop on his property. His help when I ran into problems would be a necessity. That being said I wanted to do all of the welding and fabrication myself. I conceded that any welds that were on the outside I'd tack on and let him complete so they looked good and in turn would require little to no grinding unlike my amatuerish welds.
Honestly, this would be my very FIRST attempt at welding... ever. I have always had my buddy Brent around so I tack items, but for some reason had never needed to actually weld. Not a single inch. Pretty bad, I know.
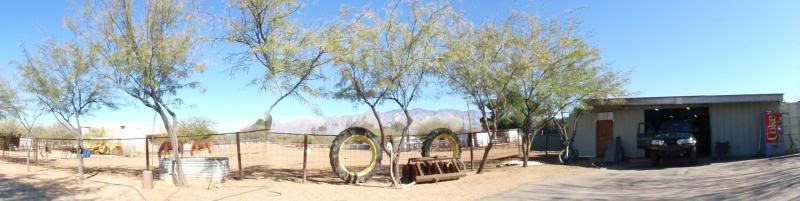
Here is my working environment. Nice and relaxing.
I went by IMS metal supply here in Phoenix before heading to Tucson. I was able to pull all of the needed material out of their scrap pile. All total with some paint I had $155 into the bumper.
(keep in mind that many grinding discs and a few cut off wheels would also need to be purchased. I had the luxury of using a friends.)
First I wanted to get the main beam up to the approximate height it would sit at.

I then tacked the main beam up. This piece is heavier than you can imagine. WOW. Getting in place alone was tough. Try to have another set of hands available when you do it.

I used the CNC Plasma to design and cut some pieces for the side "wings" of the bumper. For the top piece I used card board to make a design I liked. We then used a scanner to scan the image into our computer and transfer it into the Plasma software. After cutting all of these pieces out of 10 gauge steel I tacked them up into the basic design.
Just like building a house, the framing went up easily. Also, just like a new home, the framing stage means you are VERY far from completion despite how it looks.


The following day I started on the lower portion of the wings.

I cut the tack welds holding it on so I could do some bracing on the inside now that I had the general shape.

Brent welded up some of the seams while I used the CNC Plasma cutter to creat some triangles to brace the inside of the bumper. I placed them a few inches apart and welded them in place.
Up next was cutting a level and centered square in the center of the main beam for the trailer hitch receiver.
Then I again used the CNC Plasma to make a plate that we welded to the bottom of the receiver to act as a chain hook point for trailering.
I cut a 1 inch by quarter piece of material to go along the lower lip of the bumper to act as re-inforcement and a bit of a slider for the bumper when it contacts rocks.
I painted the inside of the bumper at this point since it will be hard to reach later.
I extended the frame rails to the point needed with some square stock steel. I then again used the CNC Plasma to cut out some additional frame supports for the wings and then another two for the rear beam. (wanted to over brace this bumper when in doubt)
With the bumper on and secure we used some metal etching primer and sprayed the first coat on the bumper.


That night we sprayed a coat of high quality paint. We used a lot of hardener to get a really tough paint job. I wanted it to resist chipping as much as possible. The next day I went over it with a couple coats of flat black rattle can paint. This way I can always touch it up instead of needing the correct paint code, compressed air and a spray gun handy.


Keep in mind the only things not included are the many times I had to grind, weld, recut, re-do and generally make mistakes during the process which added an immense amount of time.
That being said, it was immensely rewarding and I am pleased with the bumper although I will always see the many little imperfections built into it.
Tim


4 comments:
Wow, found this through ExPo. I'm in exactly the same boat, but without the fancy tooling and help. When I can scrape together some cash I'll buy a basic wirefeed welder and see if I can build a pair of bumpers the hard way! Hope mine turn out as well as yours.
Excellent job Tim. The bumper looks great.
Very sharp
Very sharp
Post a Comment